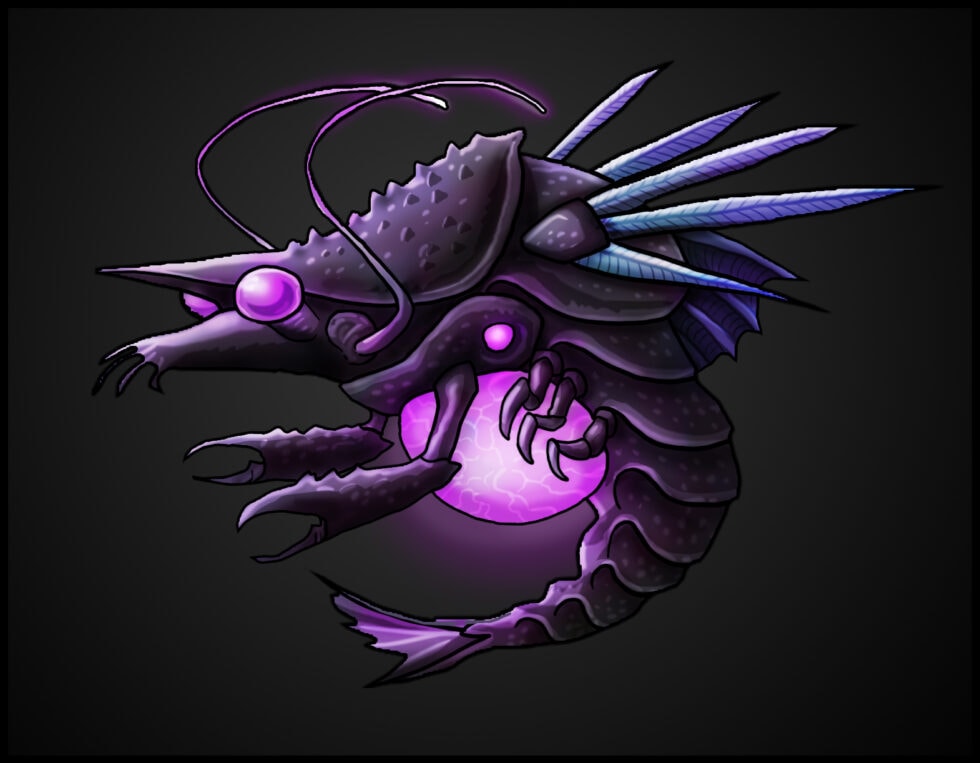
Hiya guys, Tiina here, one of the modelers for Cave Digger 2. I’m here to share my process of the shrimp enemy model I am making for the game.
I’ve been fond of character and creature modeling for a while now. There is just something with these little and not-so-little critters that envelopes my ability to create and to be productive. I am extremely grateful to be able to combine my passion with work life, and this is what working with Cave Digger 2 has given me.That aside, let’s dive into the world of character creation.
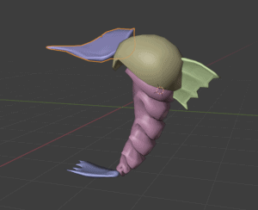
I am the most comfortable with blockouts. It’s a great way to figure out the basic shape and structure of your creature, a building base to work on. Blockouts allow your concept artist to get the rough image of the direction modeling process is steering towards, which in return speeds up the feedback process.
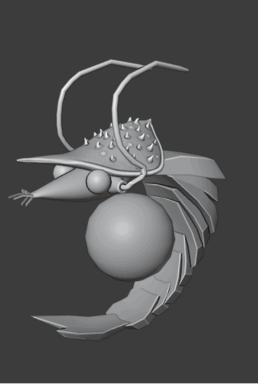
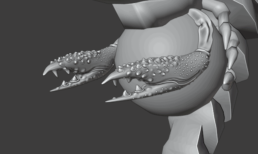
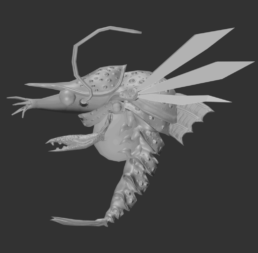
Depending on the style of the character, I either go with a singular mesh or, like the shrimp here, split it in sections. Its body resembled more armor rather than organic material and its structure has a lot of overlapping parts which would have created artefacts in the baking of the normals. For the beginning I chose to go with the most realistic parts to sculpt, as their form was easiest to comprehend, such as the crab-like claws and the helmet.
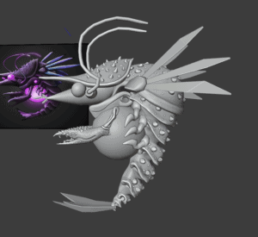
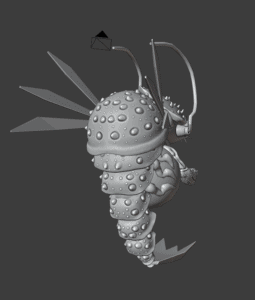
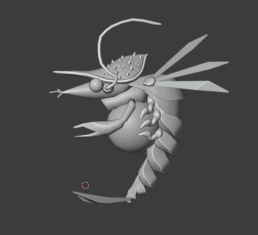
After I finished with the sculpt, I shared the progress on our art channel for feedback. This is a good way to avoid form blindness, which can happen to artists who spend too much time on one sculpt. It’s important to include your team members in your pipeline, as it usually is far more beneficial for the final look of the model.
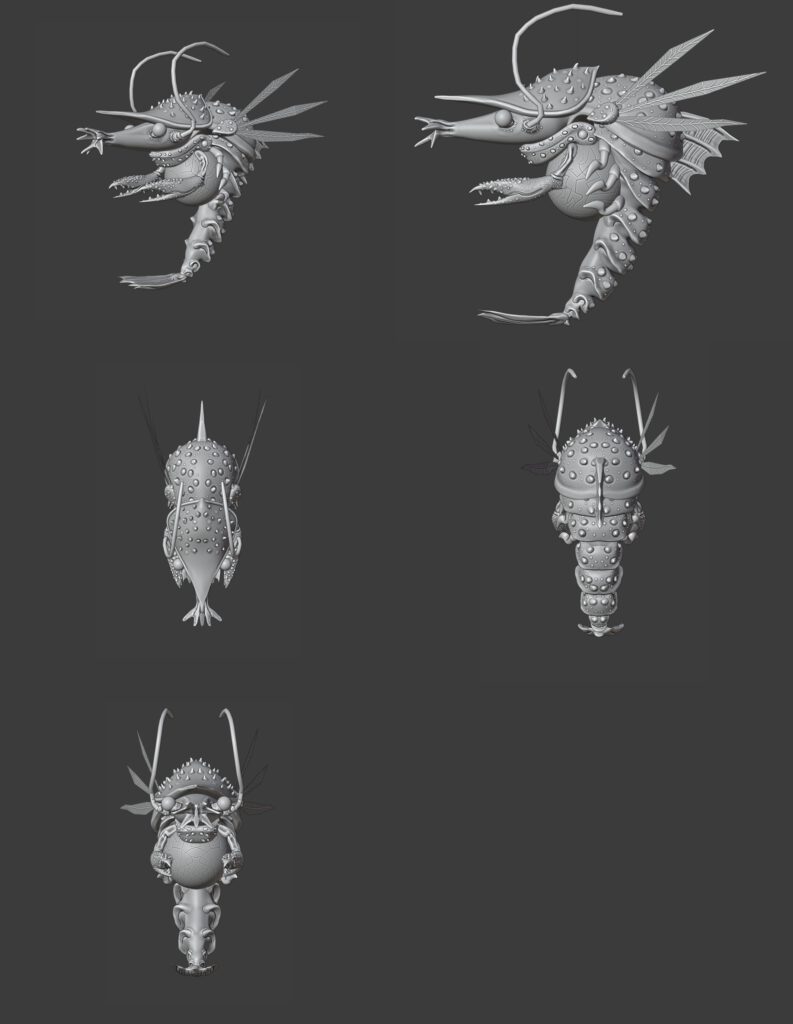

The next step is the retopology. This is one of the most meditative step in the creative process for me. I tackled first the body, as it was the most important piece for animation deformation. Plane by plane, with the assistance of Shrinkwrap and Mirror modifiers, I began forming the lowpoly structure. I keep in mind the basic rules of deformation as I go, making enough detail in the areas that require assistance and lessening the tension of the edge loops in areas that don’t.
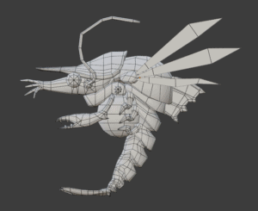
Next up is the normal baking. I baked the normals by joining the parts that don’t overlap and manually combined the different maps into one map in Krita. This way I minimized the shadows for the overlapping parts. Having the normal map baked in Blender has its benefits with Substance Painter too, to use the normals as micro details when texturing. Overall I’m quite happy with the results and ready to pass the model to our texturing artist.
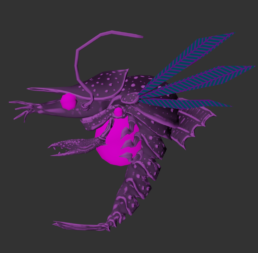
Ahead of me lies the rigging process. I’ve built the basic rig and painted the weights so that the model deforms nicely. Next up is tackling the rig controls and IK/FK constraints. Wish me good luck !
Br, Noodleye !
Random development quote: “First time seeing these floating willies”